How and When to Soil-Test Your Lawn?
A lush green lawn is the pride of any homeowner. However, maintaining a healthy lawn requires more than just regular mowing and watering. It’s important to ensure that your lawn’s soil is healthy, and the best way to do that is by soil testing. Soil testing involves analyzing a sample of your lawn’s soil to determine its nutrient levels, pH level, and other important factors that affect plant growth. In this article, we’ll discuss how and when to soil-test your lawn to ensure that it’s in tip-top shape.
Why Soil Testing is Important
Soil testing is important for several reasons. First, it helps you determine the nutrient content of your soil. Nutrient deficiencies can cause your grass to grow poorly or turn yellow, and soil testing can help you identify which nutrients your soil is lacking. Second, soil testing helps you determine the pH level of your soil. A pH level that’s too high or too low can affect nutrient availability and lead to poor plant growth. Lastly, soil testing can help you identify any potential soil contaminants, such as heavy metals or pesticides.
When to Soil Test Your Lawn
The best time to soil-test your lawn is in the fall, preferably around September or October. This gives you enough time to amend your soil before the next growing season. However, if you’re starting a new lawn, it’s best to test the soil before planting. This will help you determine if any amendments are needed before you start planting.
How to Soil Test Your Lawn
Soil testing is a fairly simple process, and you can either do it yourself or hire a professional. Here’s a step-by-step guide to soil testing your lawn:
Step 1: Collect Soil Samples
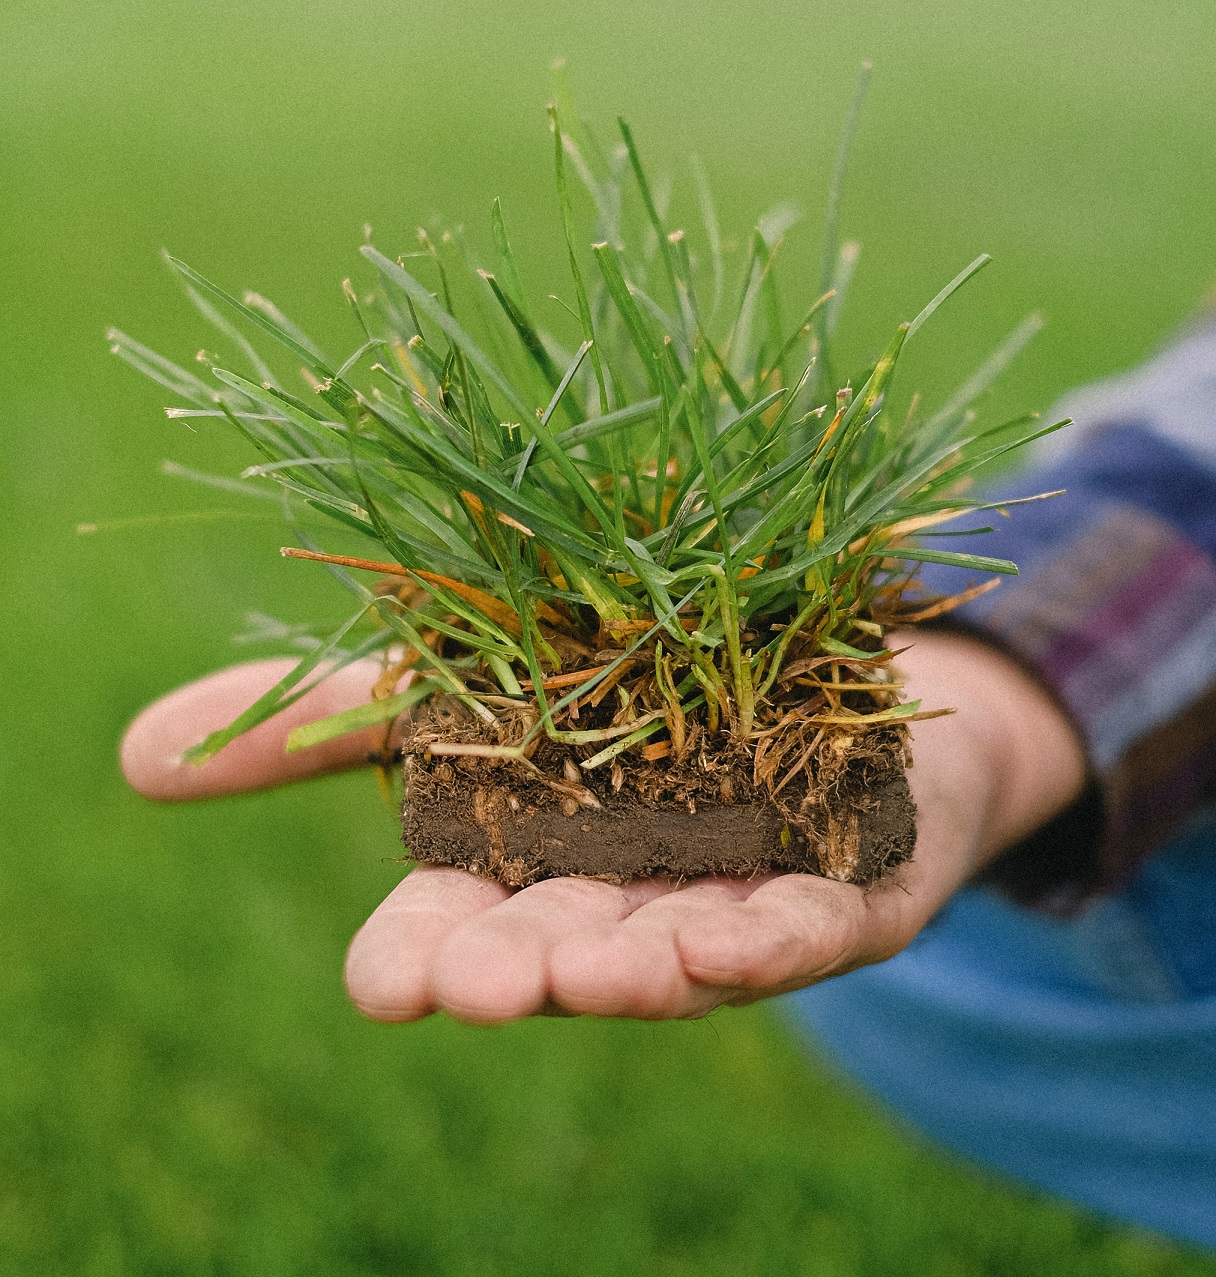
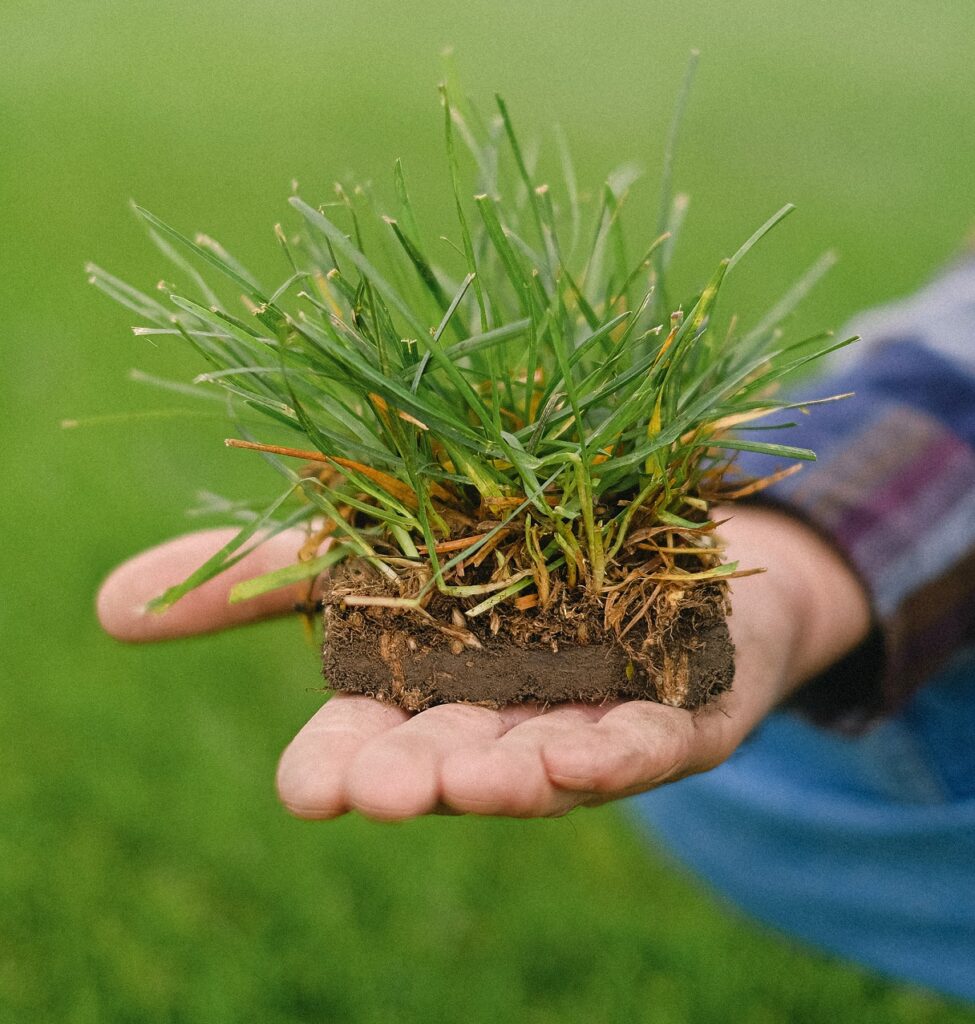
To collect soil samples, you’ll need a soil probe or a garden trowel. Begin by selecting several areas of your lawn to test. You should choose areas that are representative of the entire lawn, such as the front, back, and sides of the lawn. Use the soil probe or trowel to collect soil samples to a depth of 3-4 inches. Make sure to remove any debris or grass roots from the sample. Repeat this process for each area you’ve selected.
Step 2: Mix Soil Samples
Once you’ve collected your soil samples, you’ll need to mix them together in a clean container. Mix thoroughly to ensure that you have a representative sample of your entire lawn.
Step 3: Prepare Sample for Testing
Take about two cups of soil from the mixed sample and place it in a clean plastic bag. Label the bag with the area of the lawn the sample was taken from.
Step 4: Send Sample to Testing Lab
You can either send your soil sample to a local testing lab or a state university extension service. The lab will provide you with instructions on how to send your sample and what tests they will perform. You’ll usually receive your test results within a few weeks.
Interpreting Soil Test Results
Once you receive your soil test results, it’s important to understand what they mean. The lab will provide you with recommendations on how to amend your soil based on the results. Here are some common soil test results and what they mean:
pH level: The pH level of your soil should be between 6.0 and 7.0. If your pH level is too low (acidic), you’ll need to add lime to raise it. If your pH level is too high (alkaline), you’ll need to add sulfur to lower it.
Nitrogen (N): Nitrogen is essential for healthy plant growth, and a lack of nitrogen can cause your grass to turn yellow. If your soil is deficient in nitrogen, you’ll need to add a nitrogen-rich fertilizer.
Phosphorus (P): Phosphorus is essential for root growth and flower development. If your soil is deficient in phosphorus, you’ll need to add a phosphorus-rich fertilizer.
Potassium (K): Potassium is important for overall plant health and disease resistance. If your soil is deficient in potassium, you’ll need to add a potassium-rich fertilizer.
Organic Matter: Organic matter is important for soil structure, water retention, and nutrient availability. If your soil is deficient in organic matter, you’ll need to add compost or other organic amendments to improve the soil.
Heavy Metals: If your soil test results show high levels of heavy metals, such as lead or arsenic, it’s important to take steps to reduce exposure. Avoid growing food crops in the affected area and consider hiring a professional to remediate the soil.
Soil testing is an essential part of lawn maintenance, and it’s important to do it regularly to ensure that your lawn is healthy and thriving. By testing your soil in the fall or before starting a new lawn, you can identify any nutrient deficiencies or pH imbalances and make the necessary amendments before the next growing season. Whether you choose to do it yourself or hire a professional, soil testing is a simple and cost-effective way to ensure a healthy, vibrant lawn.